
Appearance
Animanager for producers
As a producer you set up how the work flows, plan who does what, follow where each shot stands and deliver. This tour takes you through the pages for each step, in the order you meet them in a production.
1. Set up the studio and the team
- Create a studio and invite people: the studio and its members.
- Set up a project in Settings: the name, pipeline, schedule and access of each project.
- Roles and permissions: what each role can see and do, and who can open each project.
- Turn modules on and off: the parts of Animanager your studio uses.
2. Shape the pipeline
- Set up stages and workflows: the stages of each kind of work and their statuses.
- Organize projects, spaces and items: the project, its sequences and its shots or assets.
- Connect stages: inputs and masters: what each stage receives from the ones before it.
3. Plan the work
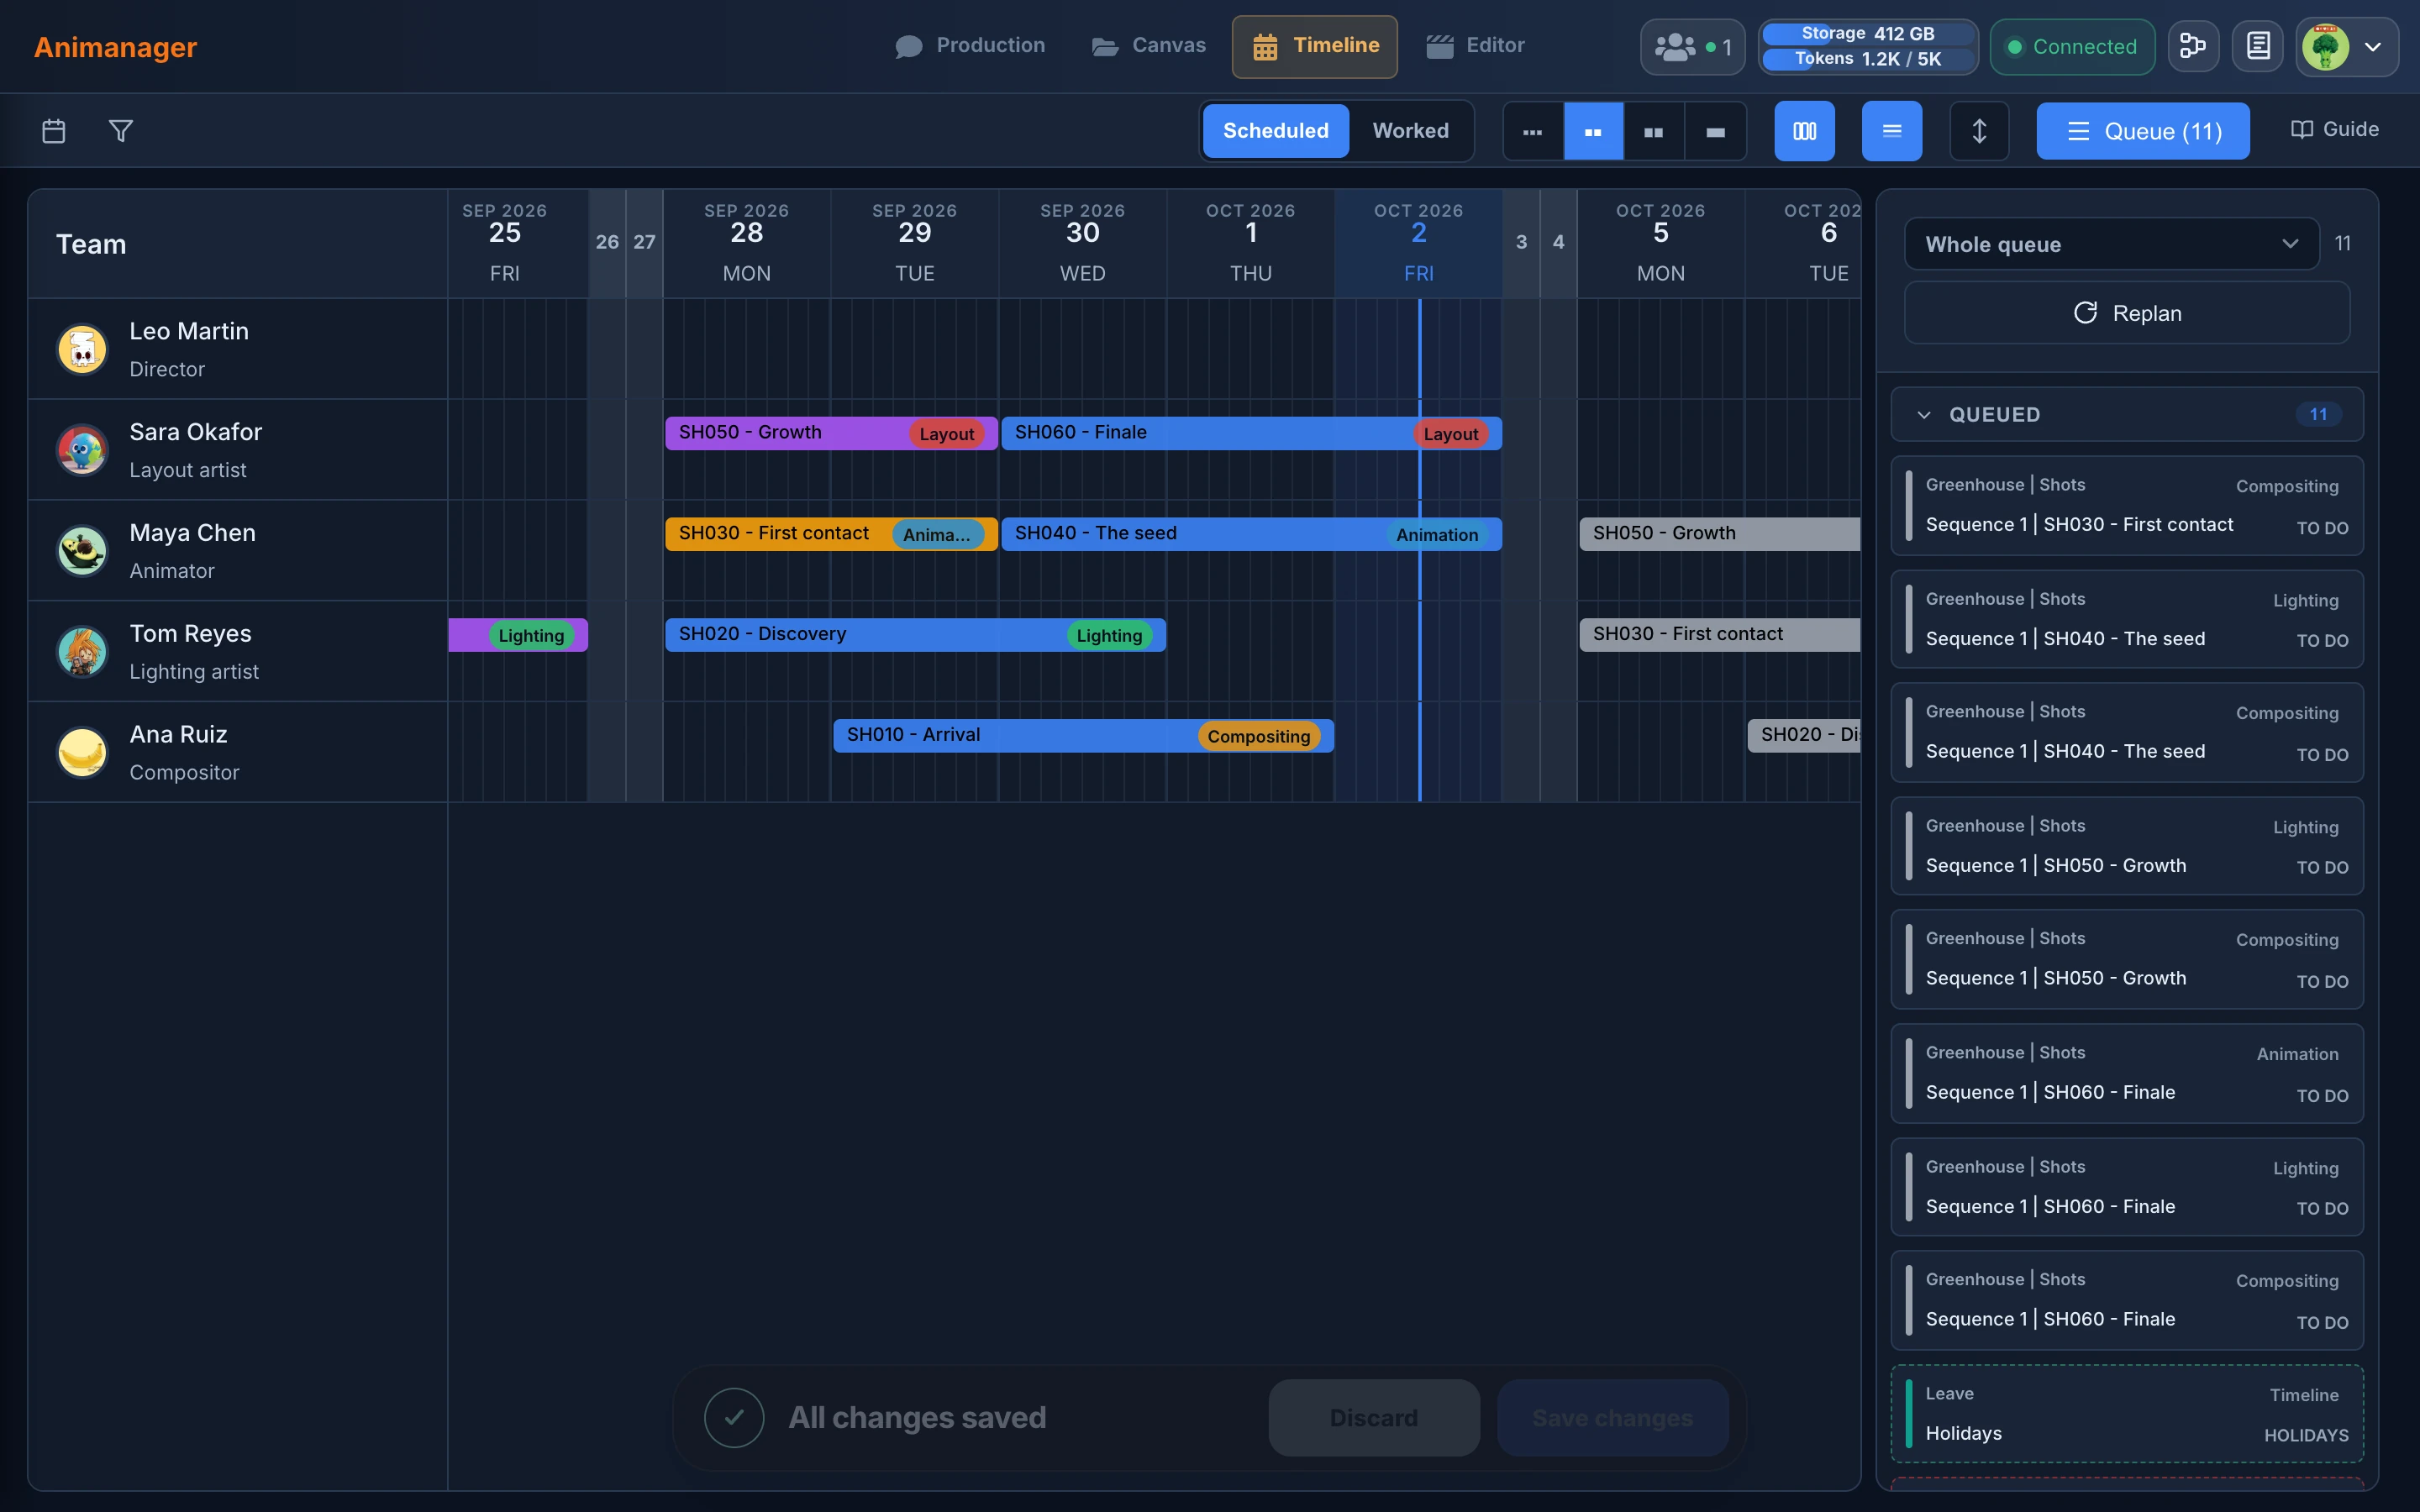
- Plan the team on the Timeline: each person's row, the queue of stages to schedule and changes in bulk.
- Let Replan schedule the work: a proposal of who does each stage and when, that you review before applying.
- Set item priority: what goes first.
- Log time and review it: the time each person logged, day by day, on the Worked view and the Timesheet.
4. Follow progress
- Follow activity in the feed: new revisions, feedback, mentions and client notes in one place.
- Navigate Animanager: the Tree and Grid with the status of every stage.
- Attach data tables and chart them: figures published as tables and charted over time.
- Team Activity: who is online and working in Blender right now, with their last snapshot.
- Render on your own machines: the farm's jobs, nodes and the Notices from Anibot about finished and stalling renders.
- See where the hours went in Stats: the hours of each project, shot and stage, by person and month by month.
- Follow costs in Finances: payrolls and invoices spread over the hours, and what each project costs.
5. Review and deliver
- Review a shot: frame-accurate notes and drawings, and versions side by side.
- Invite a client to review: a link to one revision, without an account.
- Draw feedback on the frame: notes on the exact frame, and notes posted in a client's name.
- Cut an edit in the video editor: the latest takes on one timeline, exported as an MP4.
- Share files by link: the files of a revision, with an expiry date or a password.
- Plan social posts in Publisher: the studio's posts on a calendar, published through Buffer.
6. Let an AI agent help
- Prompts that work: feedback summaries, status reports, estimates and batches.
- What an agent can and can't do: your permissions, the cost first, and publishing only when you ask.
7. Keep the studio running
- Plans, seats and storage and Buy token packs and follow usage.
- Troubleshooting and the FAQ when something doesn't go as expected.