
Appearance
Quick start: your first production
In a few minutes you set up a project, a space of shots with the stages they go through, and the shots themselves, and you publish the first version of one shot. Each step links to the page with the details.
Before you start
You need a studio. The first time you sign in, Animanager offers to create one, and the studio type you choose sets up your first stages and modules. See Create a studio.
Each step below needs a permission, such as Project creation for the first one. If an option is missing from a menu, ask a studio administrator. See Roles and permissions.
Create your first project
A project is the top level of a production, such as a short film, a series or a commercial.
- Open your studio in the studio rail, on the far left.
- In the Tree, right-click Team Chat (or an empty part of the Tree) and choose New Project.
- In General, type the Project Name. You can also pick a Project Icon and an Icon Color.
- In Permissions, under Audience, choose which roles can open the project: Allow or Deny for each role.
- Press Create Project.
The project appears in the Tree, under Team Chat.
A practical starter structure
A short film can start with one project and two spaces: Shots, with the stages of a shot, and Assets, with the stages of a character or a set. Inside Shots, each shot is an item, and the shots can be grouped by sequence in collections.
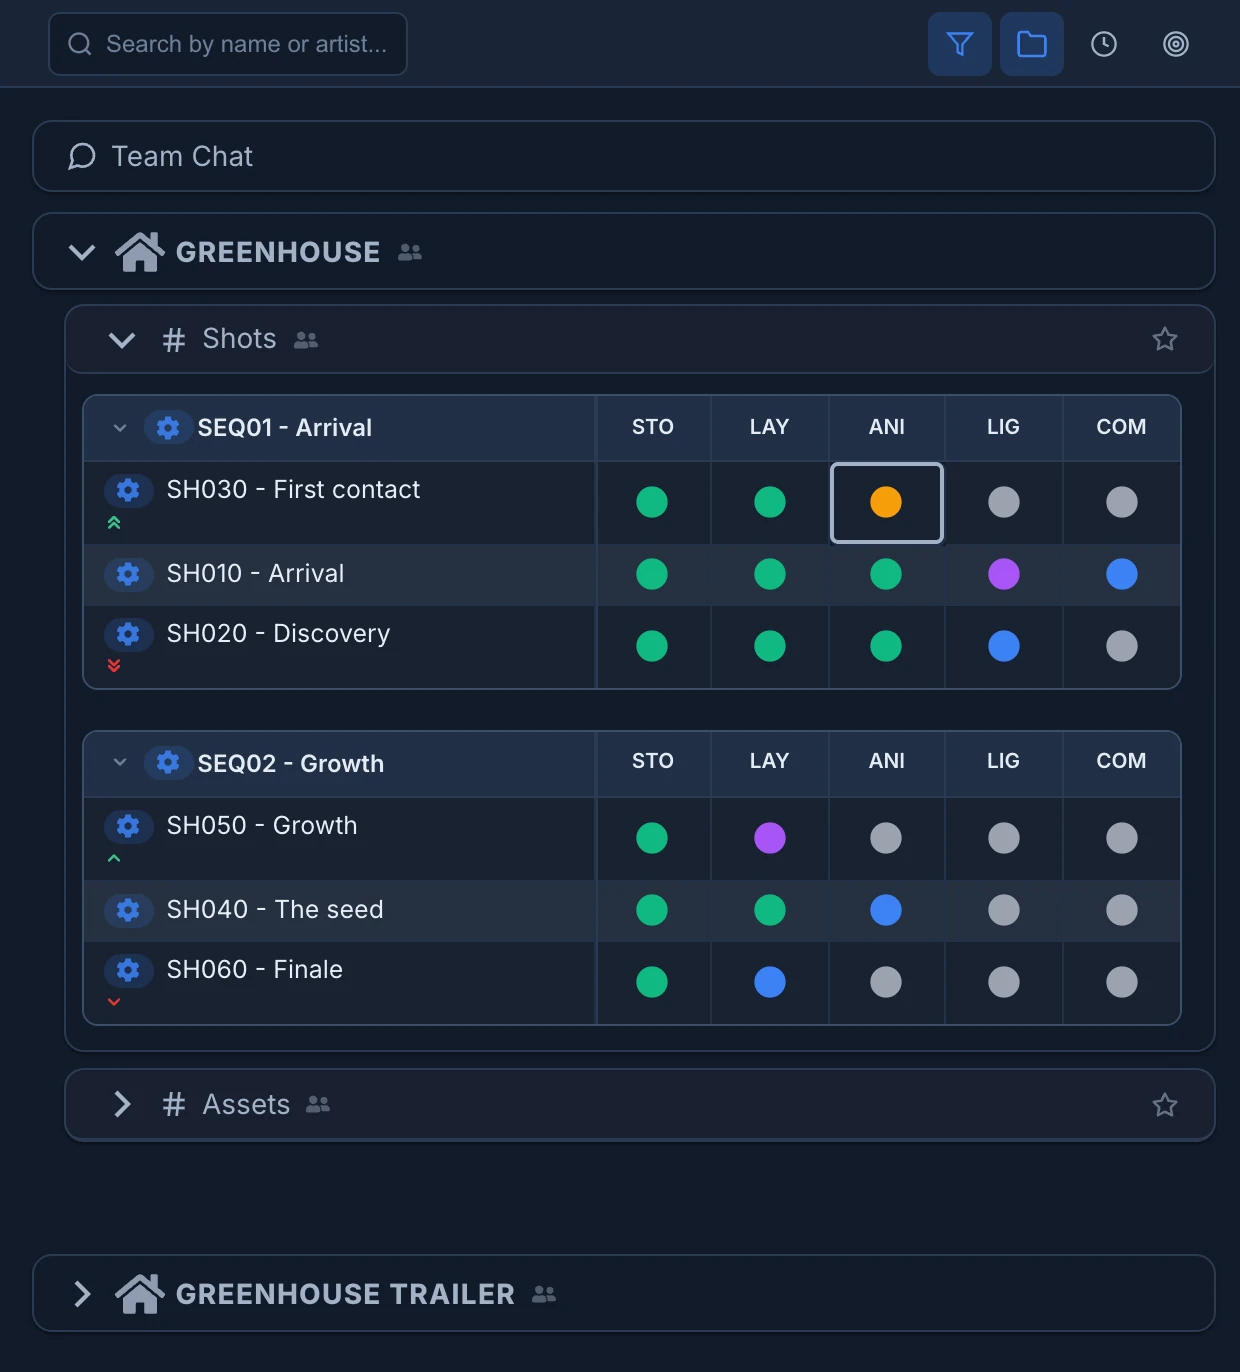
A space groups items that go through the same stages. Collections are optional: they group items inside a space, which helps when a space holds many of them.
Add a space and its stages
- Right-click the project in the Tree and choose New Space.
- In Details, type the Name, for example
Shots. - In Stages, pick one of the studio's workflows in the menu, or click the stages the space needs to turn them on. A space needs at least one stage.
- If the stages pass files to each other, check Dependencies. See Pipeline.
- In Permissions, choose who can open the space, as for the project.
- Press Create Space.
The studio's stages and workflows are set up in Settings. See Stages and workflows.
Add your items
An item is one piece of work, such as a shot, a character or a set. It goes through the stages of its space.
- Right-click the space and choose New Item.
- Under Titles, type the first title, for example
SH010 - Arrival. Press Enter, or Add another item, to add another row, and create several items at once. - In Stages, every stage of the space is on. Click a stage to leave it out of these items.
- Press Create Item, or Create 3 Items when you typed three titles. Ctrl/⌘ + Enter creates them too.
Click the arrow of the space to open it. It shows a grid: one row per item, one column per stage, and a dot with the status of each stage.
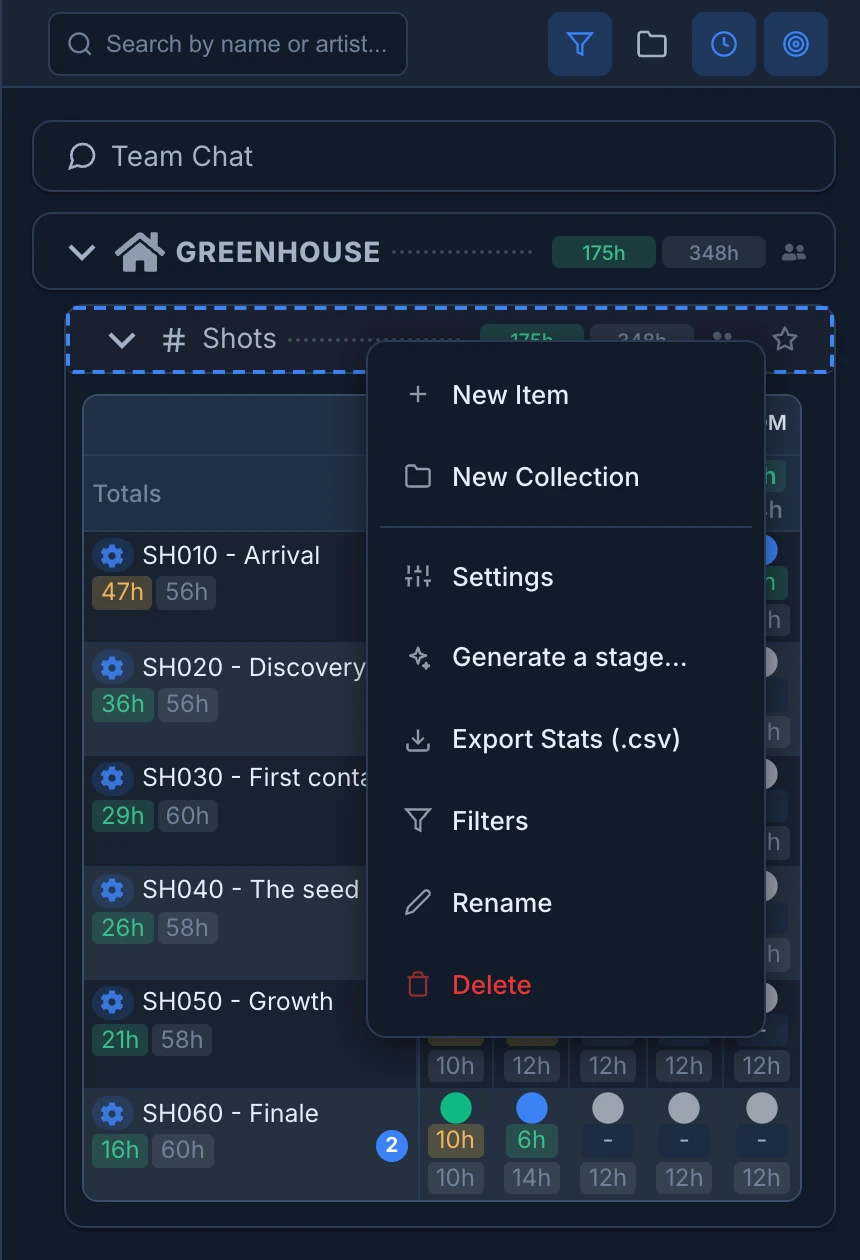
See Organize projects, spaces and items for collections, priorities and filters, Configure items and recurring work for an item's own settings, and Track time and estimates to give each stage its hours.
Publish a first revision
A revision is a new version of the work of a stage: the media to review, and often the work files.
- In the grid, click the dot of the stage, for example the Layout of SH010. The Chat opens that stage.
- Next to Post as:, choose Revision.
- Attach your media with the paperclip (Attach files) and write what changed.
- Choose the new status in the status menu, next to the send button, for example Waiting for approval.
- If you log your time, set the hours and minutes you spent on this version.
- If the stage shows Before posting this revision, complete each item of the list.
- Press the send button.
The revision appears in the Chat as a card with its version number, the stage's dot changes colour in the grid, and your team sees it in their feed. With the Desktop Helper, you can also publish the work files, and publish from Blender. See Revisions and Save in Blender and publish.
How Animanager works and how to navigate it
The Production workspace has three panels:
- Tree on the left: Team Chat, projects, spaces, items and stages.
- Chat in the middle: the conversation of the place you selected.
- Feed on the right: new activity from every place you can open.
The place you select in the Tree decides what the Chat shows. A project shows the project's conversation, an item its own, and a stage its feedback and revisions. The address in your browser records that place: send it to a teammate who has access and it opens the same place for them. A link never gives access by itself.
See Navigate Animanager and Follow activity in the feed.
Work updates, stages, and communication
Choose the kind of post that fits the update:
- Chat, in Team Chat, a project, a space or an item: discussion that is not a review step.
- Feedback, in a stage: notes on the work, or only a change of status.
- Revision, in a stage: a new version of the work, with its media and files, its status and the time spent.
Good updates are short but complete:
- Say what changed.
- Attach or publish the result.
- Choose the right status.
- Log your time when the studio tracks it.
- Mention only the people who need to act, with
@.
Type # to link another project, space, item or stage you can open, and @here in Review mode to point at the frame you are on. See Chat panel.
When a stage publishes a revision, the stages connected after it can receive its files. See Pipeline. Status changes show in the grid and in the feed at once, for everyone who can open that place.